Blog

How Can I Avoid a Plumbing Emergency?
Plumbing emergencies may seem like spontaneous events that happen without warning, but that’s not always the case.
Continue Reading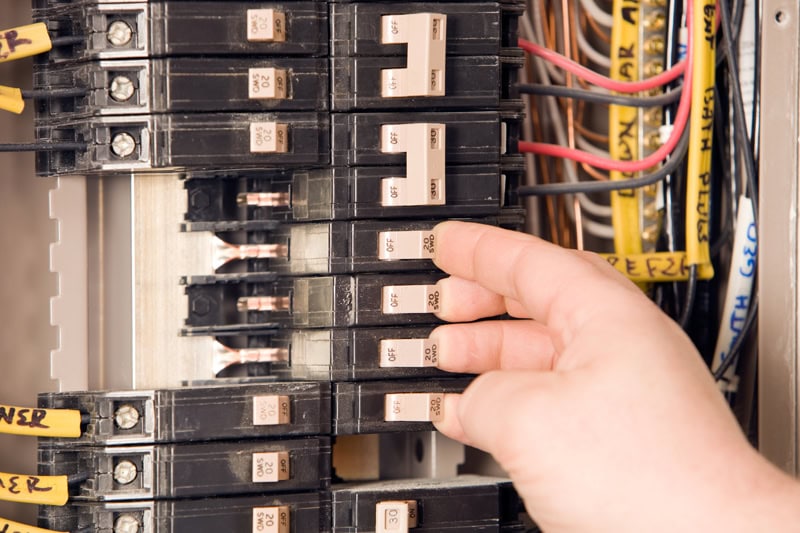
Electrical Safety Tips
Our team at Basnett Plumbing, Heating, AC and Electrical wants to help keep you and your family safe when it comes to basic electrical safety issues in and around your Massachusetts home. Here are a few guidelines to keep in mind.
Continue Reading
3 Health Benefits of Using Your AC While Sleeping
A good night’s sleep is essential for your overall health and well-being. Sleep affects everything from your mood and energy levels to your immune system and physical health. That’s why maintaining a comfortable sleeping environment is so important—especially during warm nights when high temperatures can disrupt your rest.
Continue Reading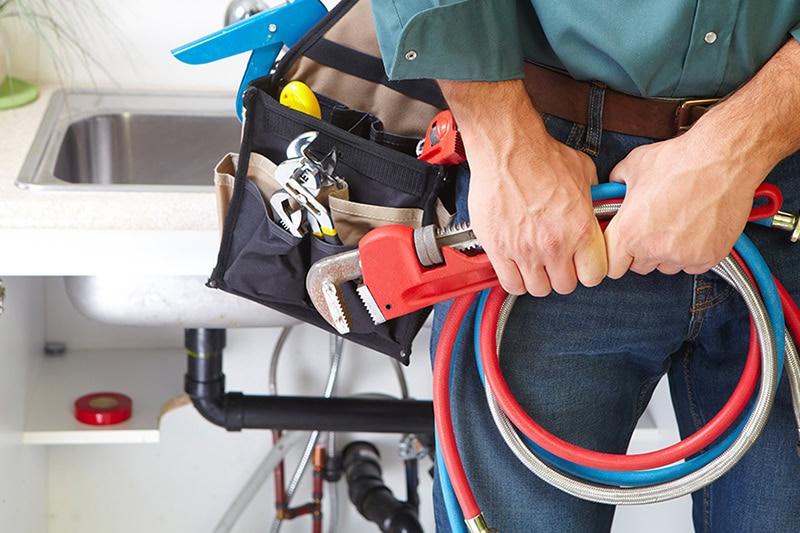
Schedule a Sewer Line Inspection for Your Home
At Basnett Plumbing Heating & Cooling, we encourage customers to be proactive with their sewer lines and drains. Routinely inspecting your sewer line is the best way to avoid sewage backup in your home from blockages, tree root obstruction, and even pipe collapse.
Continue Reading
Does an AC Kill Mold?
Your air conditioner (AC) can do several things––keep your Massachusetts home’s indoor air cooler than outdoor temperatures, help to keep indoor airborne allergens at bay, and help keep your home’s humidity low. But one thing it can’t do is kill mold.
Continue Reading
5 Reasons Why Regular HVAC Maintenance is Essential for Middlesex Homeowners
Our installers know how to install air conditioning units, heat pumps, and furnaces so that you get the best bang for your buck.
Continue Reading
Spring AC Maintenance Tips
Dust, mold, and other pollutants can build up in your ductwork and filters, circulating throughout your home and affecting your IAQ.
Continue Reading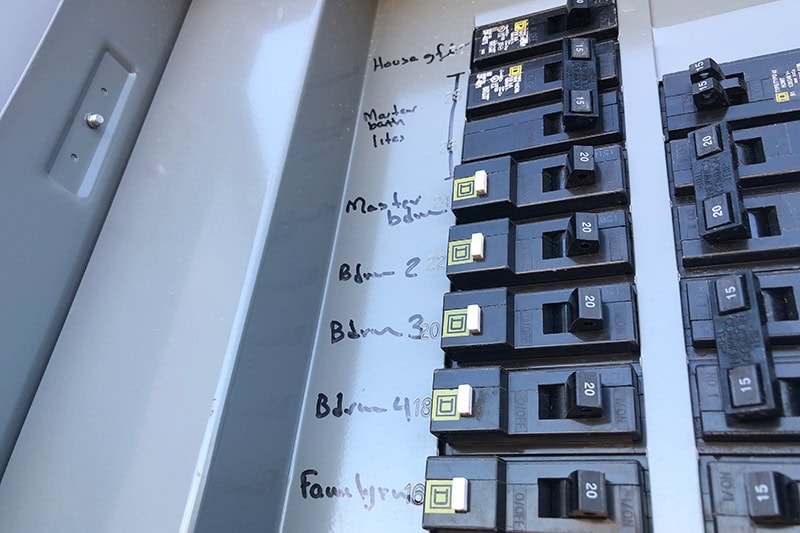
5 Reasons to Upgrade Your Electrical Panel
Home electrification is just one reason to improve your electrical panel, the heart of your home’s electrical system. However, it is an essential step when moving your household away from fossil fuels to cleaner energy.
Continue Reading
How to Keep Warm During Extreme Cold Weather
We receive countless calls every time the temperatures drop below normal ranges, as homeowners here in Massachusetts encounter problems with their home’s heating system.
Continue ReadingNeed HVAC Service?
Contact the experts at Basnett Plumbing, Heating, AC & Electrical.
Call us at 978-431-2906!